Master Handyman & Remodeling Services Blog
How to Prepare Your Walls for Drywall Installation and Painting
Learn the essential steps to prepare existing walls for drywall installation and painting to ensure a smooth, lasting finish. This guide covers inspection, cleaning, repairs, finishing, and priming to help your project succeed.
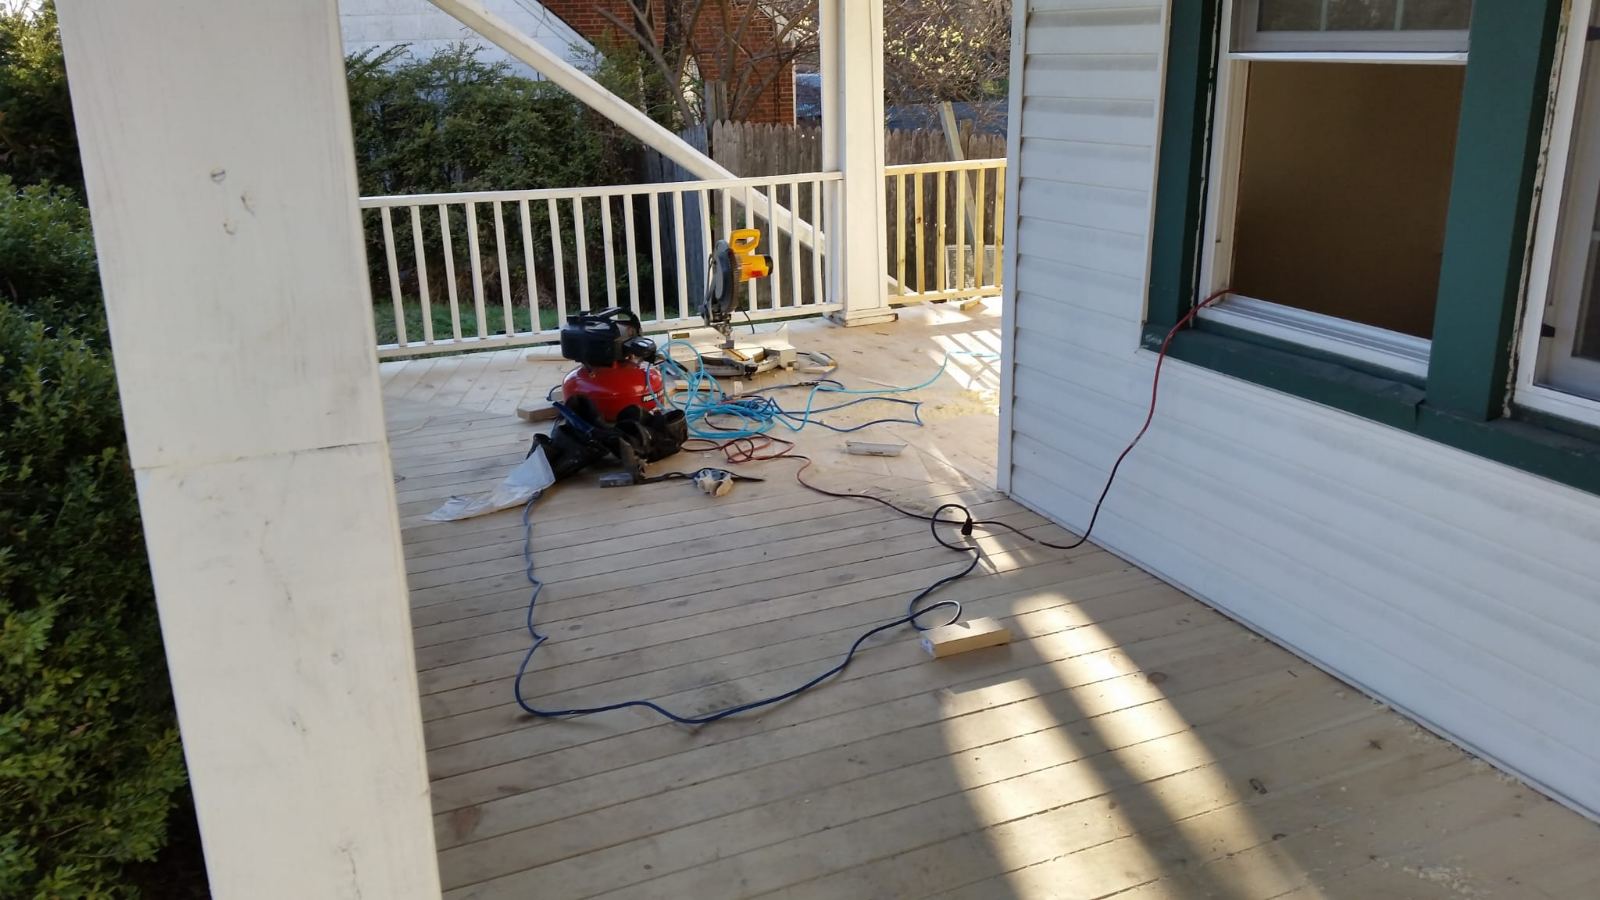
Preparing your walls properly before drywall installation and painting is crucial for achieving a smooth and lasting finish. The process involves several key steps: inspecting the walls, cleaning surfaces, repairing damage, finishing drywall seams, sanding, and priming. Each step contributes to a surface that allows paint to adhere evenly and look professional. By following these guidelines, you can avoid common issues such as visible seams, uneven texture, or paint peeling. This preparation also helps extend the life of your paint job and enhances the overall appearance of your space. It is important to consider the condition of your walls and the extent of repairs needed before starting. For larger or complex drywall projects, consulting a professional can ensure the best outcome. After reading this guide, you will know how to assess your walls, prepare them effectively, and what to expect during the drywall finishing and painting process.
Inspecting and Cleaning Your Walls
Begin by thoroughly inspecting your walls for any damage or imperfections. Look for nail and screw holes, cracks, dents, peeling paint, and any rough or uneven areas. Good lighting and viewing walls from different angles can help reveal subtle flaws that might affect the final finish. Running your hand over the surface can also detect raised patches or rough spots that need attention.
Once you've identified areas needing repair, clean the walls to remove dust, dirt, grease, and grime. Use a mild soap solution with lukewarm water and a sponge, rubbing gently in circular motions. For kitchen walls or areas with oil buildup, a grease-cutting detergent may be necessary. After washing, rinse the walls with a damp sponge and allow them to dry completely before proceeding. Proper cleaning ensures paint and primer will adhere well and prevents peeling or blistering.
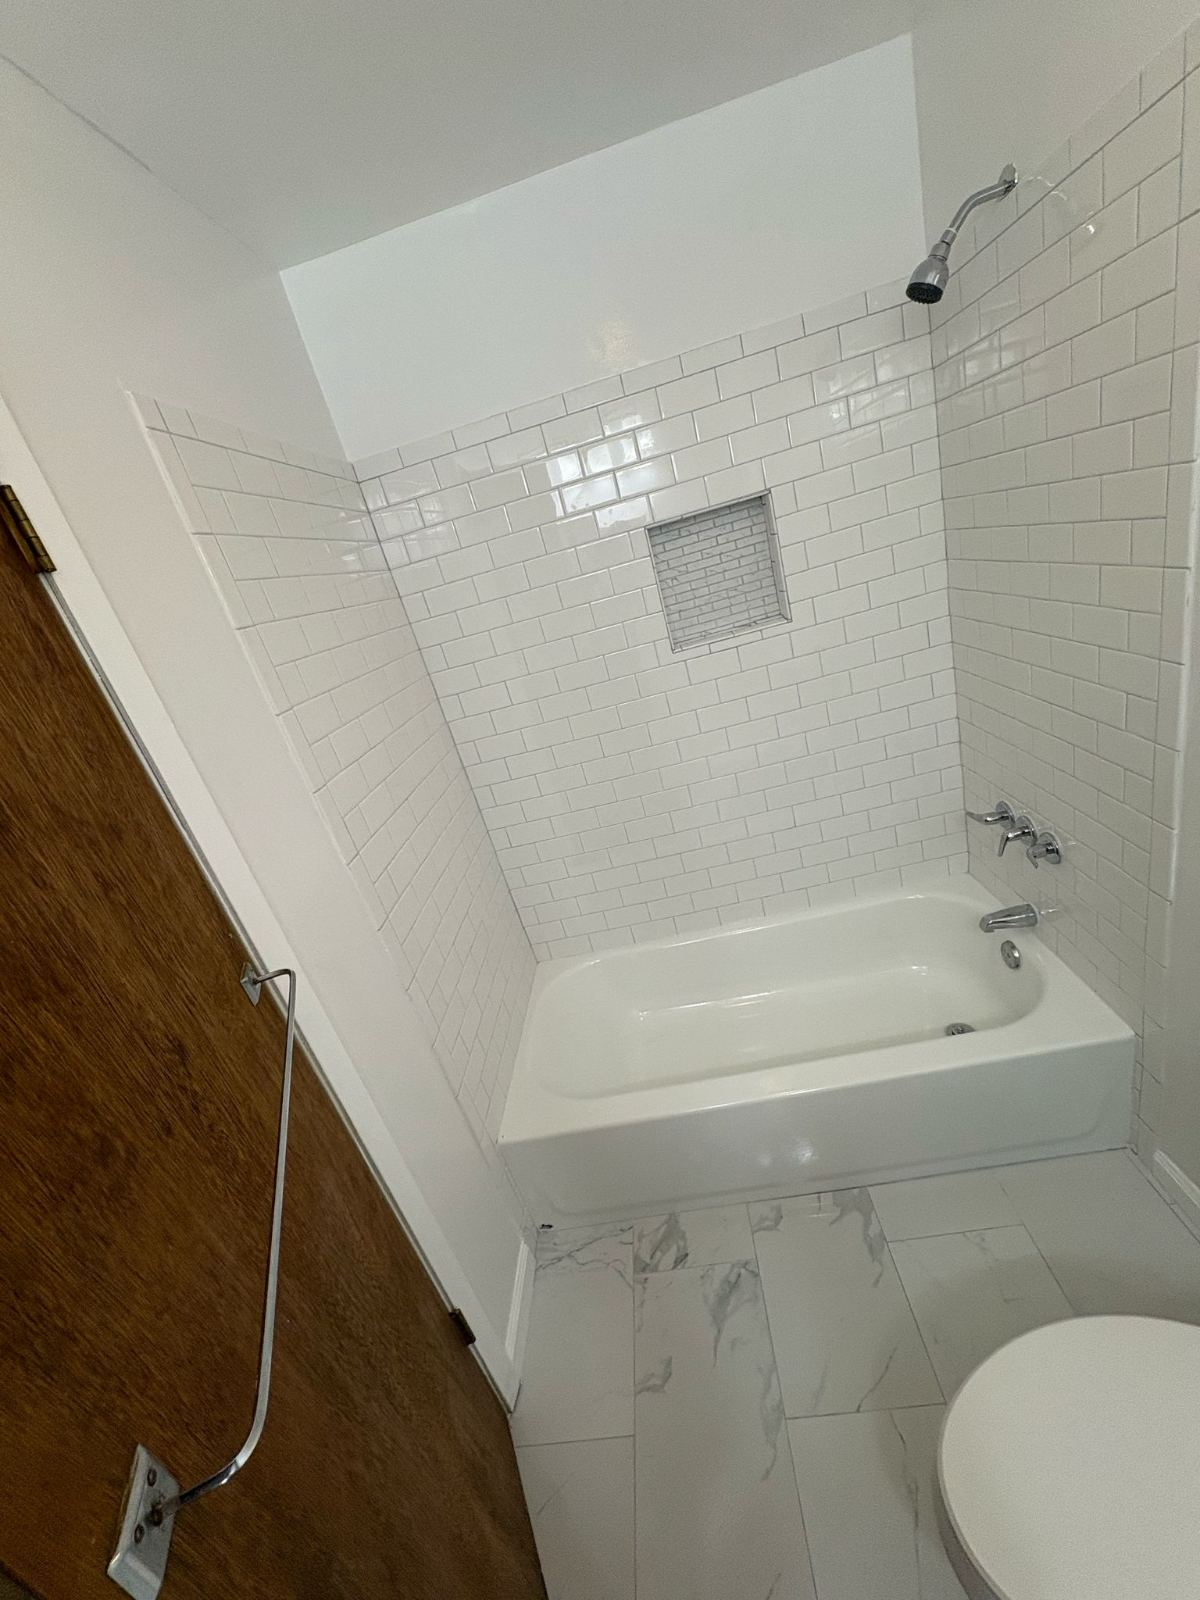
Repairing Damage and Preparing Drywall
Small holes from nails, screws, or anchors can be filled with a suitable patching compound. Apply the filler, let it dry, and then sand it smooth to blend with the surrounding wall. Avoid making patches larger than necessary, as raised areas may remain visible after painting.
For larger holes, cracks, or damaged drywall, more extensive repairs are required. This often involves applying joint compound (also called drywall mud) over seams and damaged areas, embedding drywall tape to reinforce joints, and layering multiple coats to create a smooth surface. Each coat needs to dry fully before the next is applied. Sanding between coats helps feather edges and eliminate ridges. This finishing process is essential to hide seams and create a flat, paint-ready surface.
Sanding, Priming, and Final Preparation
After the final coat of joint compound is dry, lightly sand the entire surface to remove any bumps or imperfections. Use a fine-grit sanding block or pole sander for even results. Be careful not to over-sand, which can expose drywall tape or damage the surface. Once sanding is complete, clean off all dust using a vacuum or dry cloth to ensure a clean surface for priming.
Applying primer is a critical step before painting. Primer seals the drywall compound and creates a uniform surface that helps paint adhere evenly and look consistent. It also hides minor imperfections and stains. Choose a primer suited for drywall and the type of paint you plan to use. Allow the primer to dry thoroughly before applying your finish coats of paint.
When to Consider Professional Assistance
While many wall preparation tasks can be handled by experienced DIYers, some situations call for professional help. Large drywall installations, extensive water damage repairs, or walls with severe unevenness may require specialized tools and expertise.
Professionals can ensure that seams are properly taped and finished, corners are smooth, and surfaces are dust-free before painting. They also manage drying times and prevent common mistakes such as applying compound too thickly or sanding too aggressively. If time constraints or the scale of the project are concerns, hiring a skilled team can save effort and improve the quality of the final result.
Common questions
What tools and materials do I need to prepare walls for drywall and painting?
To prepare walls effectively, gather joint compound, drywall tape (paper or mesh), putty knives of various sizes, sanding blocks or pole sanders, drop cloths, painter's tape, primer suitable for drywall, and cleaning supplies like mild soap, sponges, and rags. Safety gear such as dust masks and goggles is also recommended during sanding and patching.
How long should I wait between drywall compound coats and before painting?
Each coat of joint compound should dry completely before applying the next, which can take several hours to overnight depending on humidity and temperature. After the final sanding and cleaning, primer should dry fully—usually a few hours—before painting. Allowing adequate drying time prevents cracking, peeling, and uneven finishes.